NextJS Portfolio
Updated digital resume website
Dec 2022
Skills: NextJS • ReactJS • Tailwind CSS • TypeScript • MDX
Personal Project
13 min read
This project is currently a work in progress and is being maintained.
More features might be available at a later date 😄
My previous 'site' was built by following a tutorial, with vanilla HTML, CSS, JS, and PHP. During winter break in 2022, I had one month to spare and I thought it was time to populate my old site with new information. However, after taking a look at the codebase, it became apparent to me what a mess it was, and there was no simple way to refactor and scale it up.
After a year picking up frameworks (like Vue and React) and learning new programming concepts, I decided it was apt to create a new site, one that was both scalable and maintainable.
The first order of business was to choose a front-end framework to build the site with. Both Vue and React has its long list of pros and cons, and would fit my use case of building a blog site. Ultimately, these 3 considerations led me to choose React over Vue
- React's popularity over Vue as visualized here
- The vast number of third-party libraries and community support which would help ease the learning curve of picking it up
- Word-of-mouth is that React is more widely used in the industry, and picking it up would boost employability
The concept of meta-frameworks was completely foreign to me, but after researching a little, the benefits of utilizing one became apparent, namely the ease of implementing server components (which nicely fits my use case of creating a blog). Since the objective of buidling this site was to pick up new skills, I thought why not pick up and experiment with a meta-framework as well?
I chose NextJS over Remix mainly for the following reasons
- NextJS is maintained by Vercel, which would provide me with a seamless deployment and project management experience
- NextJS is a little bit older and (I assume) more stable than Remix
TailwindCSS was the obvious choice when it comes to styling for me, allowing me the freedom to make design choices, create, and fine-tune custom components easily. I wanted this to be a fully custom site, instead of using components in libraries such as Bootstrap or Material UI.
Another library used was framer-motion, which has allowed me to implement simple transitions without the hassle of writing my own CSS animations. However, the number of animations were later greatly reduced in version 2 as I placed more focus on Search Engine Optimization (SEO). More about Javascript and SEO can be read here.
Here are the credits to some other external libraries that I've used or referenced in the first iteration of the project.
- Typewriter effect
- Icons: Hero icons and React icons
- Particles: React-tsparticles and tsparticles. Particles were later removed in favor of site performance. I also found it to impact user experience by adding clutter to the screen.
- Skill TagSphere. Inspiration for implementing this component can be found at Jack's site here.
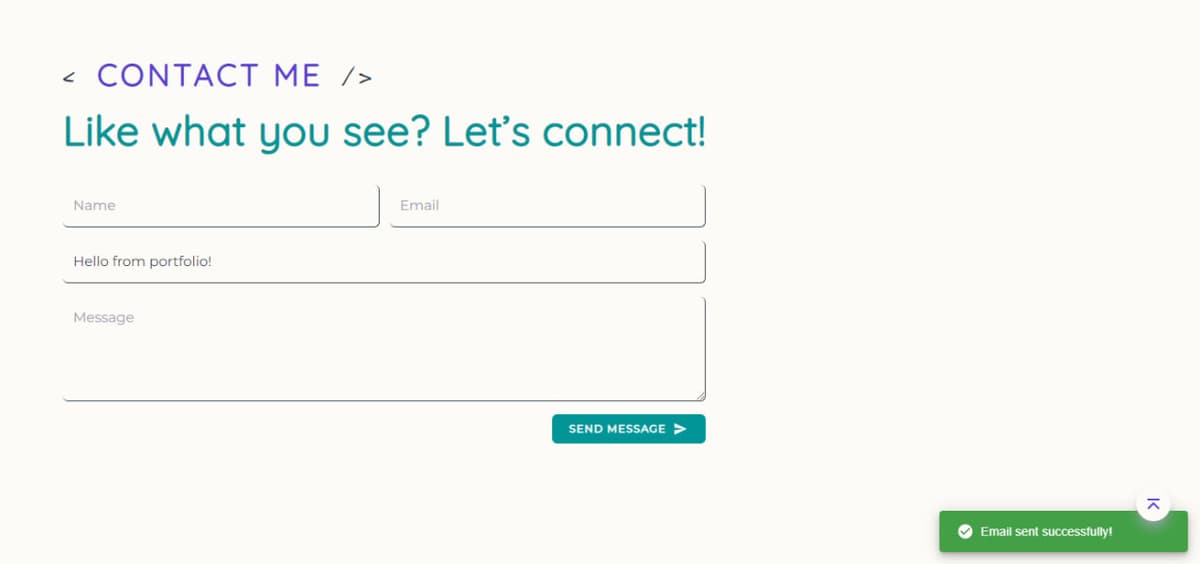
- React Hook Form for form handling and validation
- Nodemailer for email sending (to contact me)
- Notistack for Snackbar notifications.
This section will detail only the features that are either (conceptually) new to me, or difficult to implement.
This was the first challenge I had to tackle. In hindsight, while it wasn't particularly difficult to implement, it provided me with an understanding on the challenges of building an application that supports light and dark themes. I referenced this guide by AlterClass on YouTube when implementing the feature.
Firstly, tailwind has to be configured to support dark mode. More details can be found here.
/** @type {import('tailwindcss').Config} */
module.exports = {
  content: [...],
  darkMode: "class",
  theme: {...},
  plugins: [...],
};
Wrap the <Component {...pageProps} /> in _app.js with ThemeProvider like so -
import { ThemeProvider } from "next-themes";
import type { AppProps } from "next/app";

export default function App({ Component, pageProps }: AppProps) {
  return (
    <ThemeProvider enableSystem={true} attribute="class">
      <Component {...pageProps} />
    </ThemeProvider>
  );
}
Setting enableSystem={true} allows the app to detect the user's preferred theme preference or browser settings, and toggle accordingly.
Finally, create a component ThemeToggle that allows us to toggle the theme between light and dark mode.
import { SunIcon, MoonIcon } from "@heroicons/react/24/solid";
import { useTheme } from "next-themes";
import React, { useEffect, useState } from "react";

type ThemeToggleProps = {
  width?: number;
  height?: number;
};

const ThemeToggle = ({ width = 20, height = 20 }: ThemeToggleProps) => {
  const { systemTheme, theme, setTheme } = useTheme();
  const [mounted, setMounted] = useState(false);

  useEffect(() => {
    setMounted(true);
  }, []);

  const renderThemeChanger = () => {
    if (!mounted) {
      return null;
    }
    const currentTheme = theme === "system" ? systemTheme : theme;

    if (currentTheme === "dark") {
      return (
        <SunIcon
          role="button"
          onClick={() => setTheme("light")}
          width={width}
          height={height}
        />
      );
    } else {
      return (
        <MoonIcon
          role="button"
          onClick={() => setTheme("dark")}
          width={width}
          height={height}
        />
      );
    }
  };
  return (
    <div>
      <span>{renderThemeChanger()}</span>
    </div>
  );
};

export default ThemeToggle;
The main guide I referenced can be viewed on YouTube by OnelightWebDev.
Apart from implementing it, I've also applied some simple regex form validation with the help of this tool here. An example of a regex expression used was /^[A-Z0-9._%+-]+@[A-Z0-9.-]+\.[A-Z]{2,}$/i to check if the user has entered a valid email <someString>@<someDomain>.<someDomain>.
Version 1 of the build was deployed on Jan 2023. At the time of writing this, it is May 2023 when the semester has ended, and there are quite a few exciting changes to be (or has already been) made to the site.
For MDX, the main guide I referenced was by Antonello Zanini. Additionally, these are some libraries used during the process
- Next-MDX-remote by hashicorp
- PrismJS for syntax highlighting. Themes for PrismJS can be found here
- Generate blog reading-time with ngryman/reading-time
- Sidebar scrollspy with the help of Rafal Golawski's guide
Other libraries include:
- React-spinners for loading spinners on page route
- PrismaJS > this is however not in use currently, but kept in the code base for future implementations
In the first iteration, most of the data you see within the site was retrieved from a file data/constants.ts, which looks something like this
export const projects: ProjectType[] = [
  ...,
  // Some project object
  {
    type: "...",
    projectId: "projectId",
    dateString: "...",
    title: "...",
    subtitle: "...",
    cardBodySubtitle: "...",
    cardBodyDesc: "...",
    githubUrl: "...",
    skills: [...],
    projectUrl: "...",
    pagePath: "...",
    showPagePath: true,
    imgProps: {...},
  },
  ...,
]
Which will look like this when rendered in the page
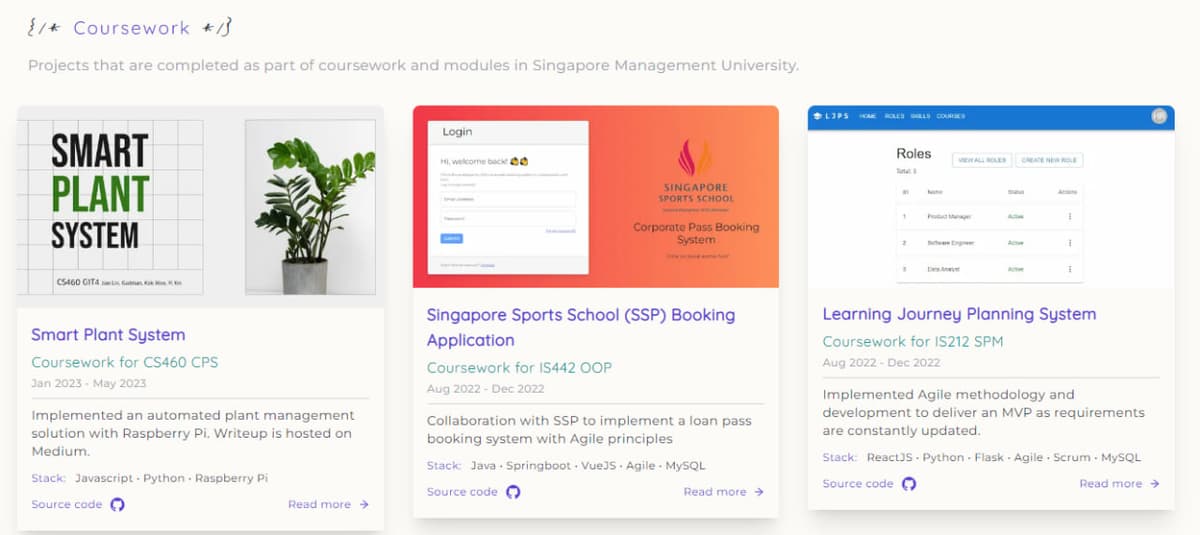
Since I've been thinking about experimenting with PrismaJS for awhile now, I thought why not move this (and other) data into the database.
Following this guide from prisma and another guide from BuildSaaSwithEthan on YouTube, I implemented the following models as such, and connected to Vercel PostgresSQL with this guide here.
generator client {
  provider = "prisma-client-js"
}

datasource db {
  provider = "postgresql"
  // url               = env("POSTGRES_PRISMA_URL") // uses connection pooling
  // directUrl         = env("POSTGRES_URL_NON_POOLING") // uses a direct connection
  // shadowDatabaseUrl = env("POSTGRES_URL_NON_POOLING") // used for migrations
  url      = env("DATABASE_URL") // for local development
}
model Experience {
  id               Int      @id @default(autoincrement())
  experienceId     String   @unique
  // other fields here
}
Next, we will have to create a file prisma/seed.ts to ensure that we can consistently re-create the same data in our database. More can be read here by Prisma.
import { PrismaClient } from "@prisma/client";
import { experiences, projects } from "@/data/constants";

const prisma = new PrismaClient();

async function main() {
  // upsert experiences
  for (const exp of experiences) {
    const experience = await prisma.experience.upsert({
      where: {
        experienceId: exp.experienceId,
      },
      update: {},
      create: {
        experienceId: exp.experienceId,
        // rest of the fields
      },
    });
  }
  // upsert other models
  ...
}
// disconnect
main()
  .then(() => prisma.$disconnect())
  .catch(async (e) => {
    console.error(e);
    await prisma.$disconnect();
    process.exit(1);
  });
Finally, we have to edit package.json such that we can execute our seed script accordingly after we execute the migration command.
{
  ...
  "scripts": {
    "build": "prisma generate && next build",
    ...,
  },
  "prisma": {
    "seed": "ts-node --compiler-options {\"module\":\"CommonJS\"} prisma/seed.ts"
  },
  "dependencies": {...}
}
However, after deploying the app, I found that the performance and load times were drastically impacted, which led me to revert the changes and stick to a static site instead.
Nevertheless, this did serve as an entry-point into integrating my application with a database using prisma, which may come in handy for future improvements of the site 😁
Previously, articles in this site were written and styled in .tsx files, like that
<p className="py-3">...</p>
<p className="py-3">...</p>
<p className="py-3">
  ...
  <Link href="..." target={"_blank"} rel="noopener noreferrer" className="...">
    Snip Avenue
  </Link>
  ...
</p>
While I did not think much of it, a friend of mine thought that doing so was tedious and difficult to maintain, and suggested that I integrated the application with MDX instead. And so I did!
In order to implement this, there were a number of things that have to be changed:
- Use dynamic routing instead of static routing i.e., a project page will now be
[slug].page.tsxinstead of<projectName>.page.tsx. - Converting some components (such as sidebar) into dynamic components. More can be read here.
- Read and serialize file content using
fs,getStaticProps, andserialize, which would later be passed to the main component as props. I referenced this guide by Antonello Zanini.
Firstly, we will have to define the frontmatter for our mdx file
---
projectId: "..."
title: "..."
subtitle: "..."
type: "..."
dateString: "..."
skills: [...]
githubUrl: "..."
projectUrl: "..."
---
{* some content *}
[slug].page.tsxNow, in our dynamic page, retrieve the data from the frontmatter with getStaticProps.
import path from "path";
import fs from "fs";
import { GetStaticPropsContext, InferGetStaticPropsType } from "next";
import { serialize } from "next-mdx-remote/serialize";
import { MDXRemote } from "next-mdx-remote";
import rehypeCodeTitles from "rehype-code-titles";
import rehypePrism from "rehype-prism-plus";
import matter from "gray-matter";
import readingTimeWithCount from "reading-time";
// ...other imports

export const getStaticProps = async (
  context: GetStaticPropsContext<{
    slug: string;
  }>
) => {
  const { slug } = context.params!;
  // retrieve MDX blog post file associated with the specified slug parameter
  const projectFile = fs.readFileSync(
    path.join(process.cwd(), `content/projects/coursework/${slug}.mdx`)
  );
  const { content } = matter(projectFile)
  // read the MDX serialized content along with the frontmatter from the mdx file
  const mdxSource = await serialize(projectFile, {
    parseFrontmatter: true,
    mdxOptions: {
      rehypePlugins: [rehypeCodeTitles, rehypePrism],
    },
  });
  return {
    props: {
      source: mdxSource,
      content: content,
    },
    // enable ISR
    revalidate: 60,
  };
};
The highlighted line is for PrismJS, which helps with styling codeblocks within MDX. There is an excellent guide by Ryan Carmody on how to implement this!
Finally, we pass the mdxSource into our component, where we can display the data
const CourseworkPage = ({ source, content }: Props) => {
  const {...} = source.frontmatter
  const readTimeRes = readingTimeWithCount(content, {
    // options
  });
  return (
    ...
    <MDXRemote
      {...source}
      components={{...MDXCustomComponents, ...}}
    />
  ...
  )
}
There is a pretty handy library that helped with the generation of dynamic reading time which is highlighted in the above code block, ngryyman/reading-time.
After we are done, we can proceed to customize how we want our MDX be rendered. I did this by creating a component called MDXCustomComponents, where I can decide how I want the various HTML tags to be styled after they are rendered. A snippet can be seen below.
export const MDXCustomComponents = {
  p: (props: any) => <p className="...">{props.children}</p>,
  strong: (props: any) => (
    <strong className="...">{props.children}</strong>
  ),
  em: (props: any) => <em className="...">{props.children}</em>,
  hr: () => <hr className="..." />,
  li: (props: any) => (
    <li className="...">{props.children}</li>
  ),
  blockquote: (props: any) => (
    <blockquote className="...">{props.children}</blockquote>
  ),
  code: (props: any) => (
    <code className="...">{props.children}</code>
  ),
  // other styles
}
I referenced this documentation by GatsbyJS with regards to styling these HTML elements.
As of May 2023, I'm mostly done with this project, but there are a few things that I am hoping to implement and improve on in the future, namely
- Integrating with Github comments
- Search functionalities
- Improving overall responsiveness of JS components
If you have any suggestions, please do let me know by contacting me using the contact form (I promise, it's working)!
Thanks for reading, till next time! 😄😄